.jpg)
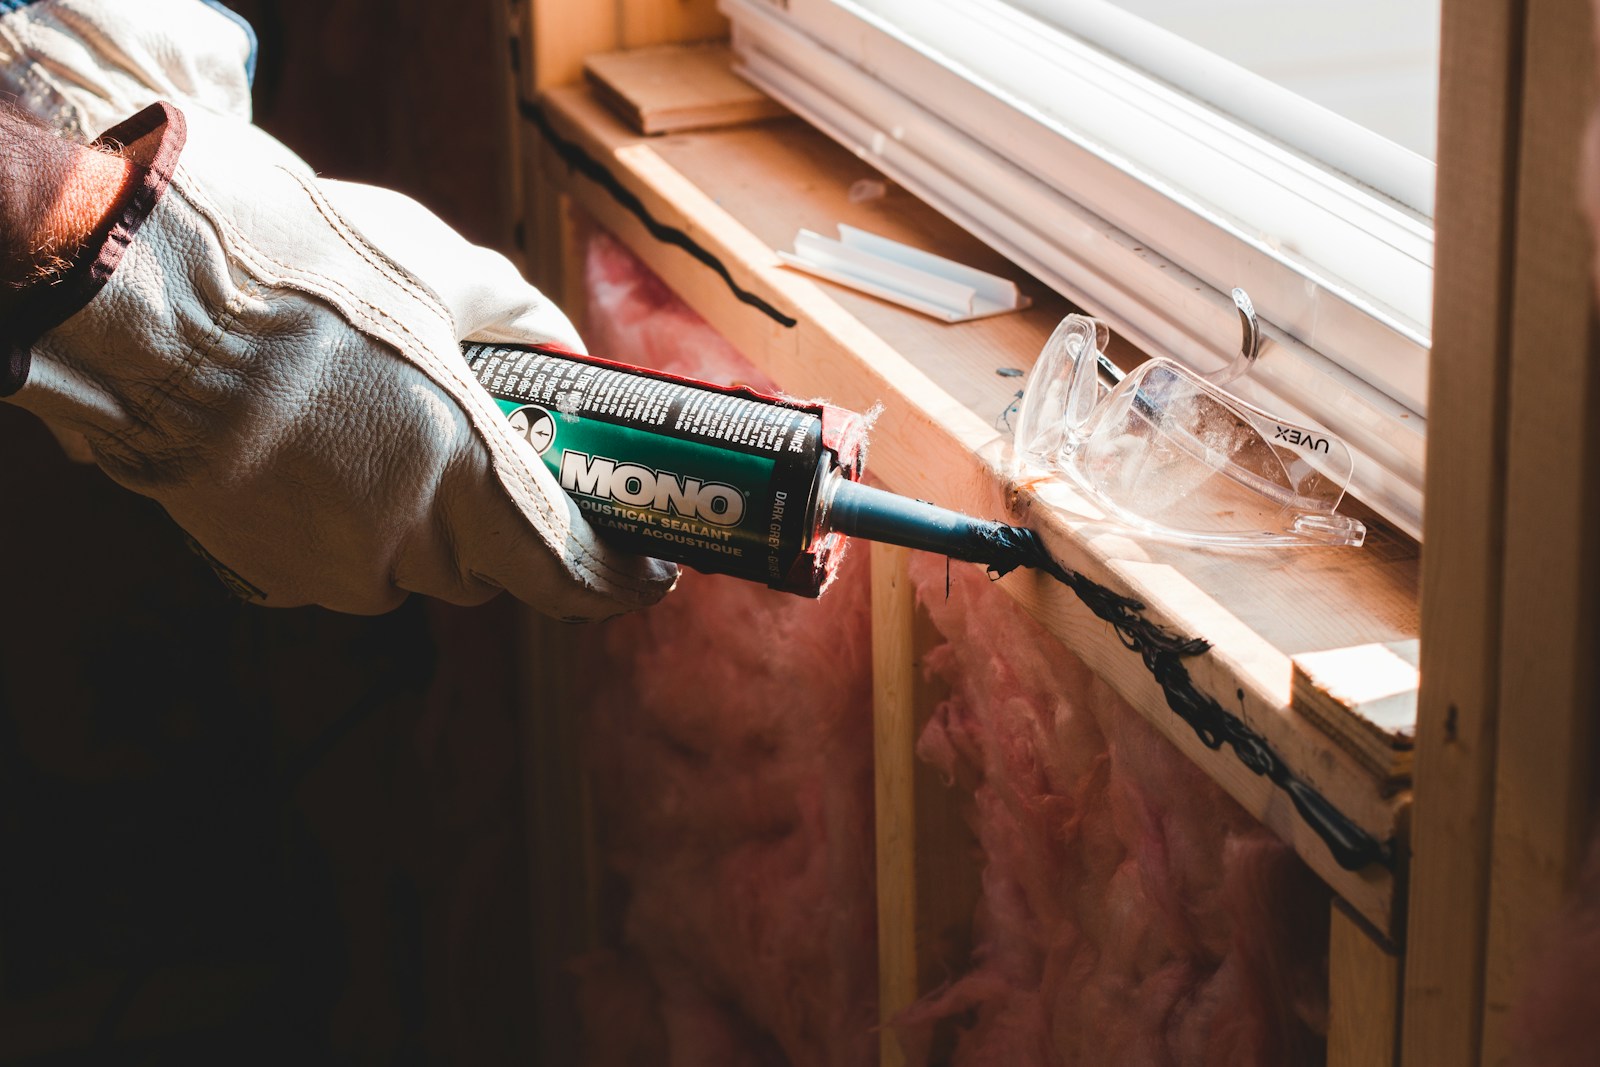
Is Your Caulking Costing You Money? A 30-Minute Home Check Every Homeowner Should Do
When was the last time you looked at the caulking around your windows, doors, or bathtub?
If you're like most homeowners, the answer is probably, "I haven't."
Caulking isn't glamorous. It doesn't have the excitement of a kitchen renovation or a fresh coat of paint. But this inexpensive material quietly protects your home from water damage, drafts, insects, and even higher energy bills.
The best part? Inspecting and replacing worn caulking is one of the easiest DIY projects you can tackle in a single afternoon.
What Exactly Does Caulking Do?
Caulking seals small gaps where different building materials meet.
You'll commonly find it around:
Windows
Exterior doors
Bathtubs and showers
Bathroom sinks
Kitchen countertops
Exterior siding joints
Utility pipe penetrations
Its job is simple: keep water, air, moisture, and pests where they belong.
Why Summer Is the Perfect Time
Warm, dry weather helps new caulking cure properly, making August an ideal time to inspect your home before cooler weather arrives.
Fixing small gaps now can help improve comfort heading into fall and winter.
Five Places to Check This Weekend
🪟 1. Windows
Walk around your home and look for:
Cracks
Shrinking
Peeling
Missing sections
If you can see daylight through a gap, it's definitely time for replacement.
🚪 2. Exterior Doors
Open and close your doors.
Check around the trim where the frame meets the siding.
Small cracks can let in insects, moisture, and unwanted drafts.
🚿 3. Bathrooms
Bathrooms are especially vulnerable because of constant moisture.
Watch for:
Black mould
Mildew
Cracked silicone
Loose edges
Replacing bathroom caulking is inexpensive and can help prevent costly water damage behind walls.
🍽️ 4. Kitchen Sink
Water splashes every day around your sink.
Inspect the seal where the countertop meets the sink to prevent moisture from working its way underneath.
🏠 5. Exterior Utility Lines
Look where:
Air conditioning lines
Internet cables
Gas lines
Electrical conduits
enter your home.
Small openings around these penetrations are common entry points for insects.
When Should You Replace It?
Replace caulking if you notice:
✅ Cracks
✅ Gaps
✅ Peeling
✅ Missing sections
✅ Mould that won't clean away
Don't simply apply new caulking over old, damaged material. Remove the old bead first so the new seal can bond properly.
A Few Supplies You'll Need
Utility knife or caulk removal tool
Caulking gun
Painter's tape (optional)
Damp cloth
Appropriate caulk (exterior, kitchen, or bathroom)
Most projects cost less than $25 and can make a noticeable difference.
Charlotte's Tip 💡
Think of caulking as the weatherproof zipper on your home's jacket. If the zipper starts coming apart, rain, drafts, and bugs are going to find their way in.
It's not the most exciting DIY project—but it might be one of the most valuable.
A little tube of caulk today can help prevent a much bigger repair bill tomorrow.
Homeowner Checklist ✔️
This weekend, inspect:
☐ Window frames
☐ Exterior doors
☐ Bathtub and shower
☐ Kitchen sink
☐ Utility line entry points
If you find cracked or missing caulking, add it to your next DIY afternoon. Your future self—and your home—will thank you.